.jpg)
Advice and tutorials
HOW TO FIX A BIKE PUNCTURE?
A puncture is every cyclist's enemy, yet it's not all that rare. To repair a puncture on a bike, you need the right tools and the right technique. So whether you're on tubeless or inner tube, here's a guide on how to fix a puncture on your bike!
The first thing when it comes to fixing a puncture is to do everything you can to avoid it! Discover our guide on how to find the right pressure for your mountain bike tires!
A puncture on a tubeless tire
First of all, you should know that tubeless tires reduce the risk of punctures, firstly thanks to the anti-puncture sealant contained in the tire, which fills in microcracks and small punctures. Also, it's impossible to pinch the inner tube, since there isn't one!
But unfortunately, you can still get a puncture with a tubeless tire! Forget tire levers, inner tubes and patches, because repairing a tubeless puncture has never been easier! All you need is a tubeless tire repair kit. Zéfal offers several types, here's a selection:
+ Tubeless Repair Kit : a repair kit made for tubeless tires that fits in any bike bag.
+ Tubeless Repair Tool : a quick and practical repair kit for tubeless tires that can be stored just about anywhere: in your pockets, in a bag or even directly on your bike, thanks to the included mounting clip!
+ Z Bar Plugs : a tubeless repair kit integrated directly into the handlebars, so it's very discreet and will delight mountain bikers!
Now that you're all set up, it's time to get in action:
1. Find the source of the puncture on the tire.
2. Grab a plug (small or large, depending on the size of the puncture) and place it in the tool.
3. Push the tool with the plug into the notch in the tire (don't hesitate to use a lot of force). You can put a little air back into your tire to create a little resistance when inserting the drill bit, so as not to damage the rim.
4. Turn the tool on itself to place the plug in the tire.
5. Extract the tool sharply, as the plug will remain stuck in the notch. Do not panic if the ends of the plug comes out of the tire, as the excess will gradually disintegrate on the asphalt!
Note that for larger punctures, where a plug won't do the job, you may need to use a patch. You'll need to disassemble your wheel and apply the patch directly on the inside of the tire, using our Repair Kit!

A puncture on an inner-tube bike
If you're riding with an inner tube, repairing a puncture may be a little more complicated than if you're riding tubeless, or at least involve a few more steps. But in any case, you need to be well equipped, so here are the products you'll need:
+ Repair Kit : this is THE inner tube repair kit to have with you on every bike outing! Available in universal, road and MTB sizes.
+ Z Levers : Tire levers to be passed between tire and rim to help you remove the inner tube.
+ Repair Spray : This spray is the emergency solution if you have nothing to repair your tube, as it instantly repairs and reinflates punctures! Please note, however, that this solution is not long-lasting and you'll need to change the inner tube after your ride.
You're all set, now it's time to fix that puncture:
1. Remove your wheel and set your bike down carefully so as not to damage the frame or mechanical parts (turn it over if possible).
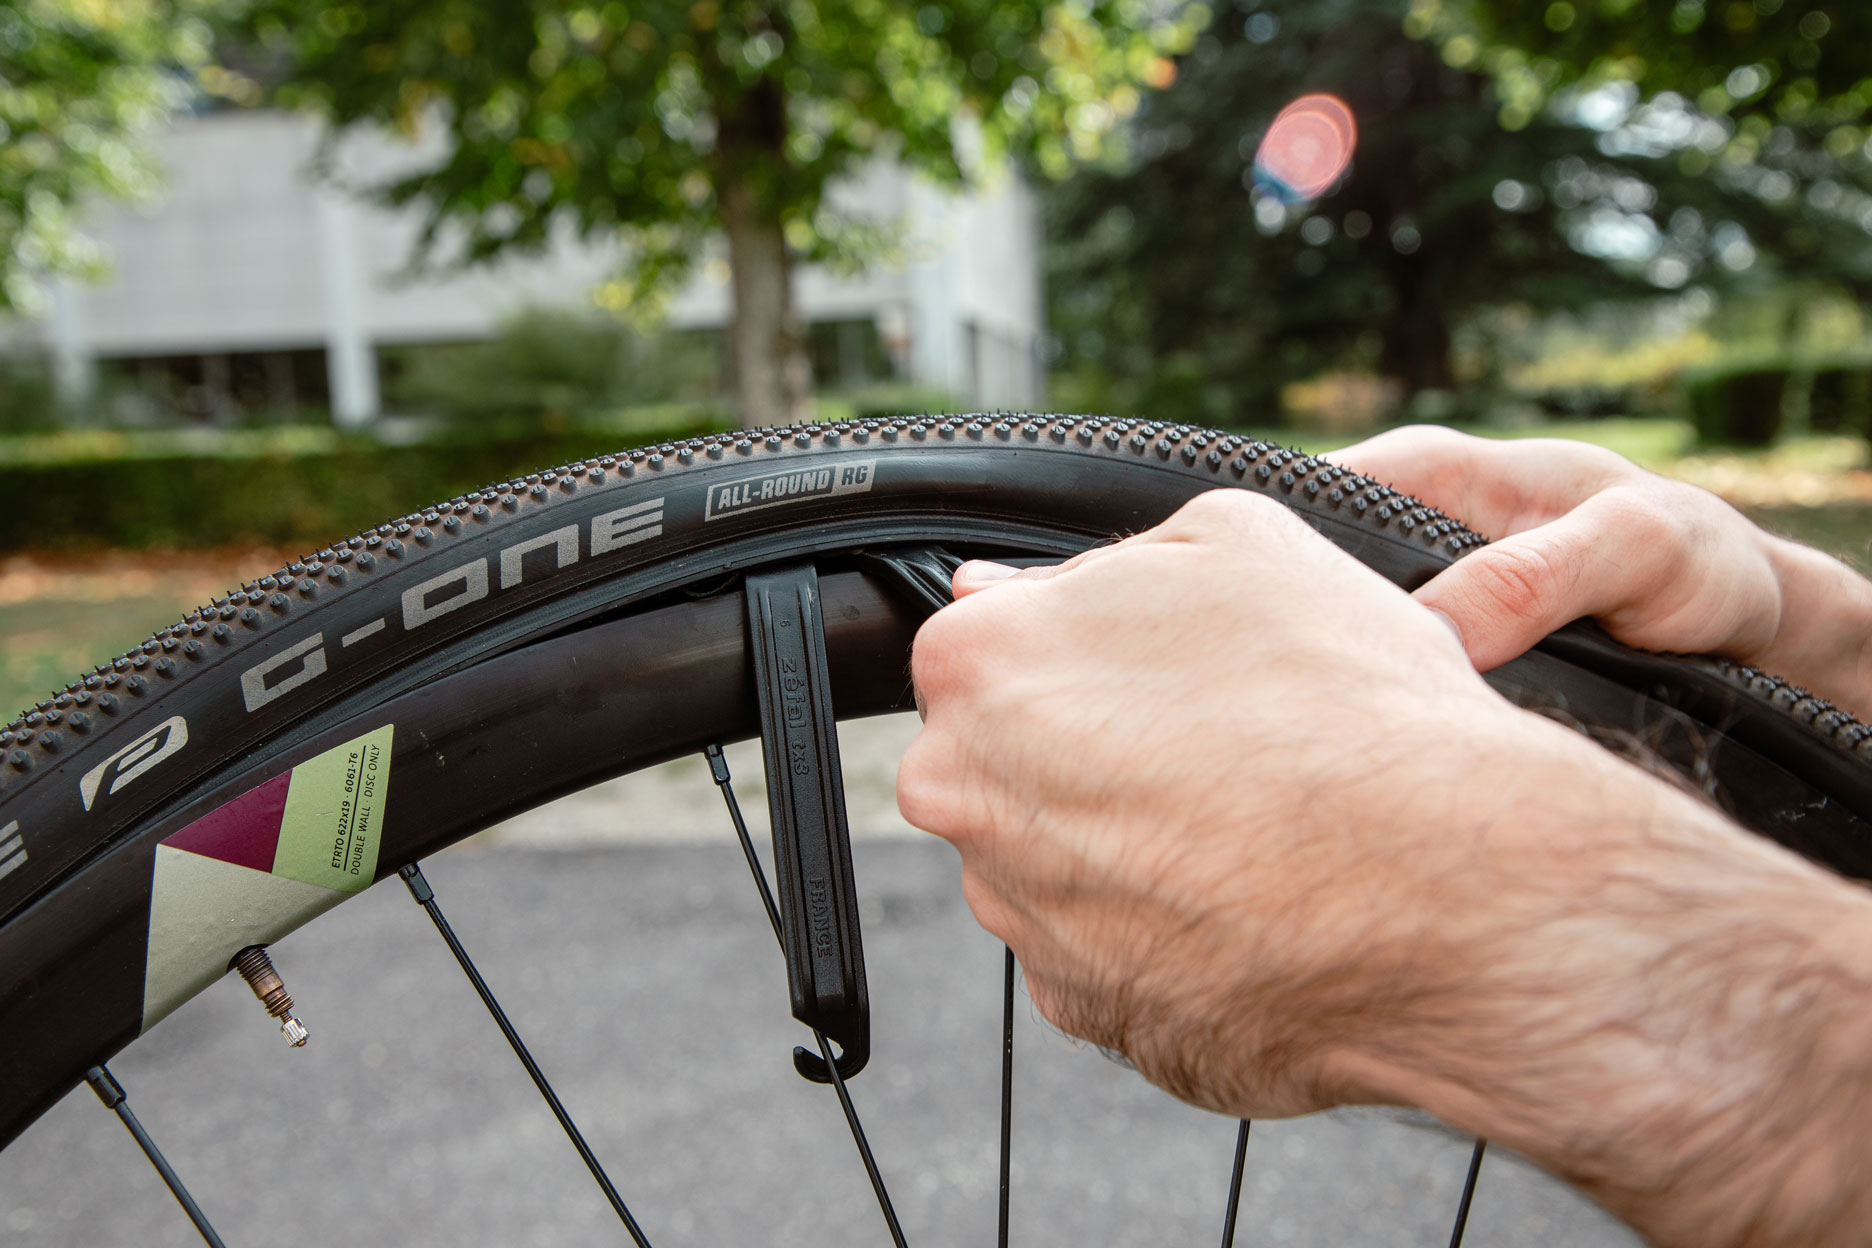
2. Deflate the inner tube and get your tire levers ready to start removing the tire.
3. Place the first tire lever between the rim and the tire, opposite the valve.
4. Place the second tire lever about 20 cm from the first and slide it on the rim. You can use your hands to pull the tire out of its socket.
5. Unscrew the inner-tube valve and pull it out of the tire.
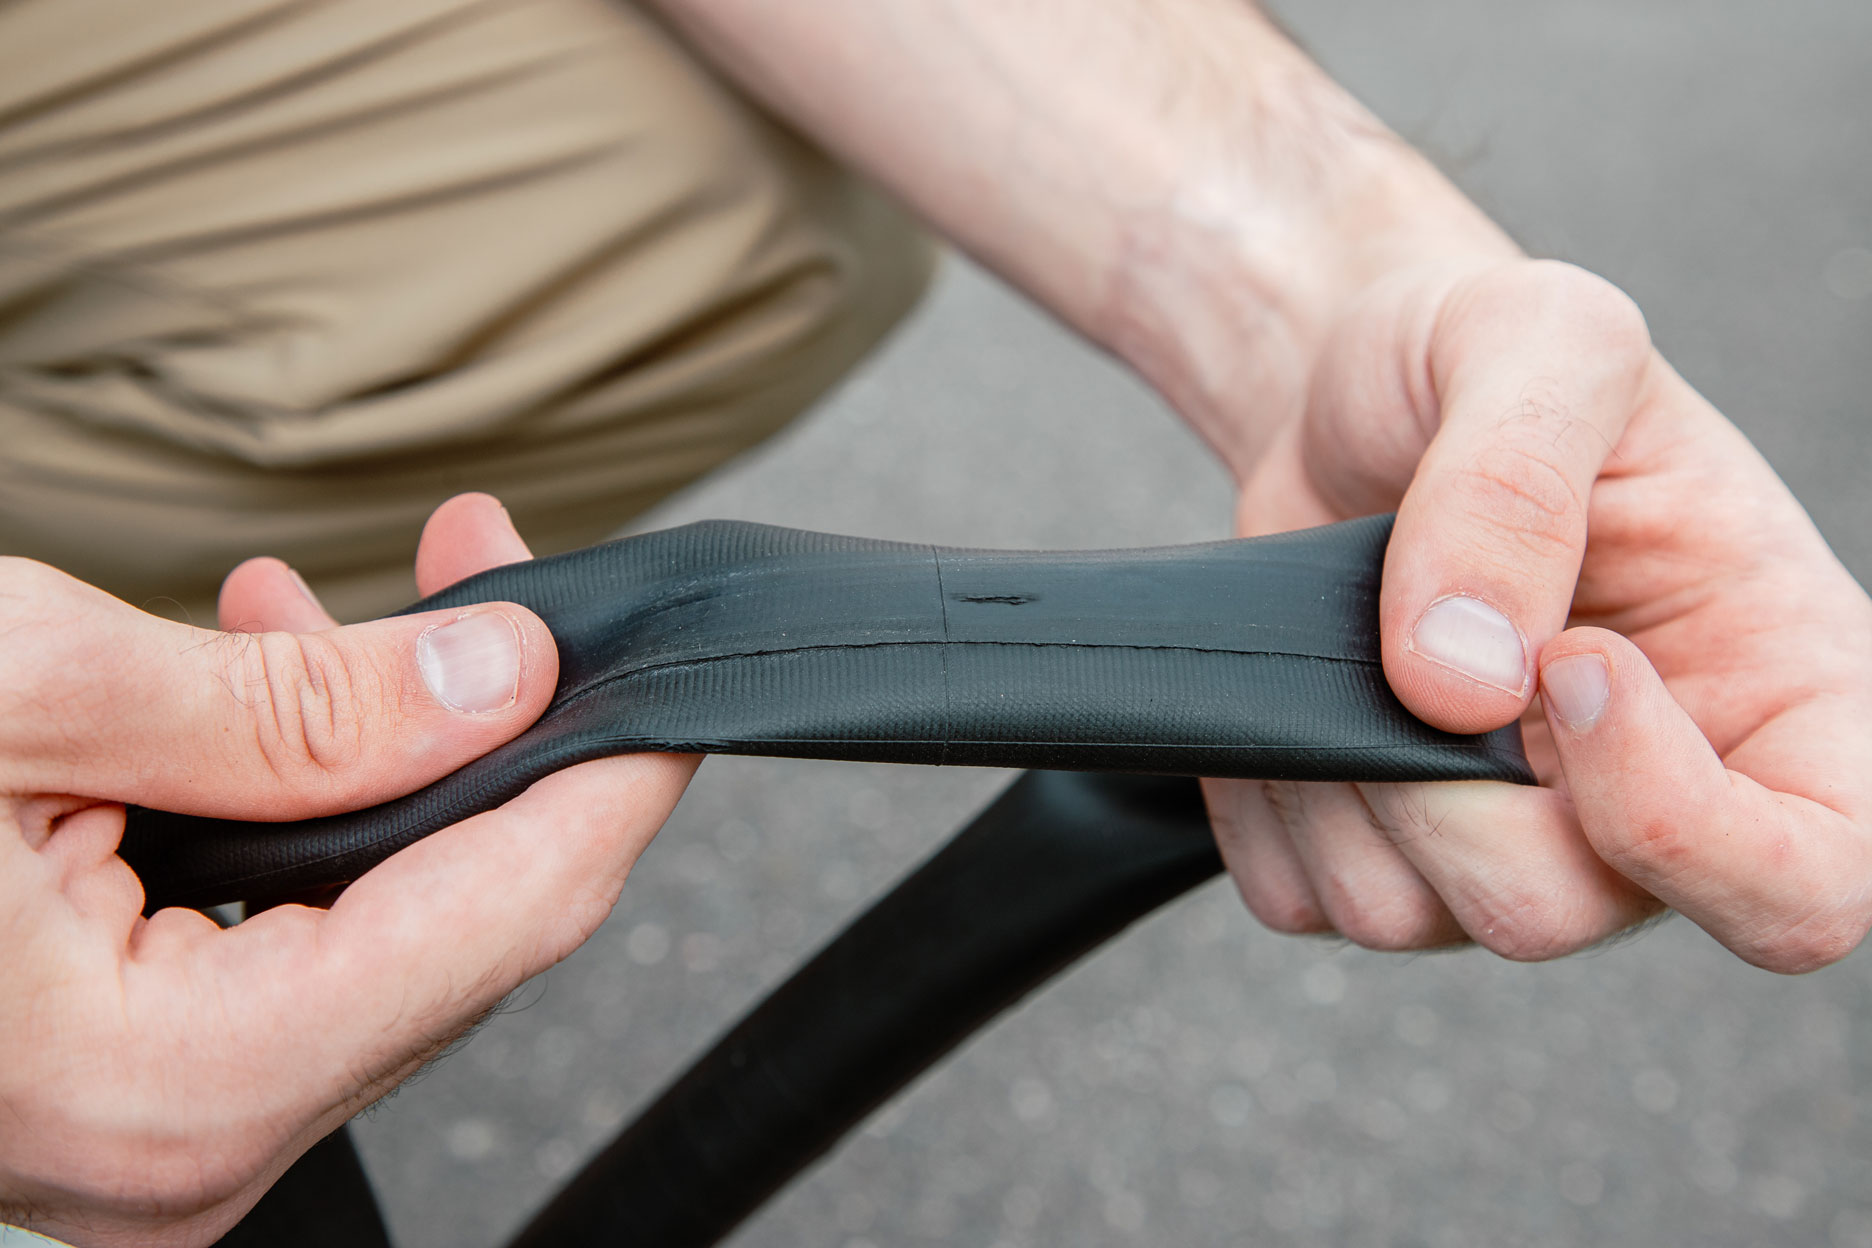
6.You have 2 options for locating the notch: If you're at home, inflate the inner tube and immerse it in water; bubbles will escape from the hole. If you're out, inflate the tube and try to locate the hole by placing it close to your ear so you can hear the air leak. (Be careful, you could have 2 holes in the tube, so keep your eyes open!)
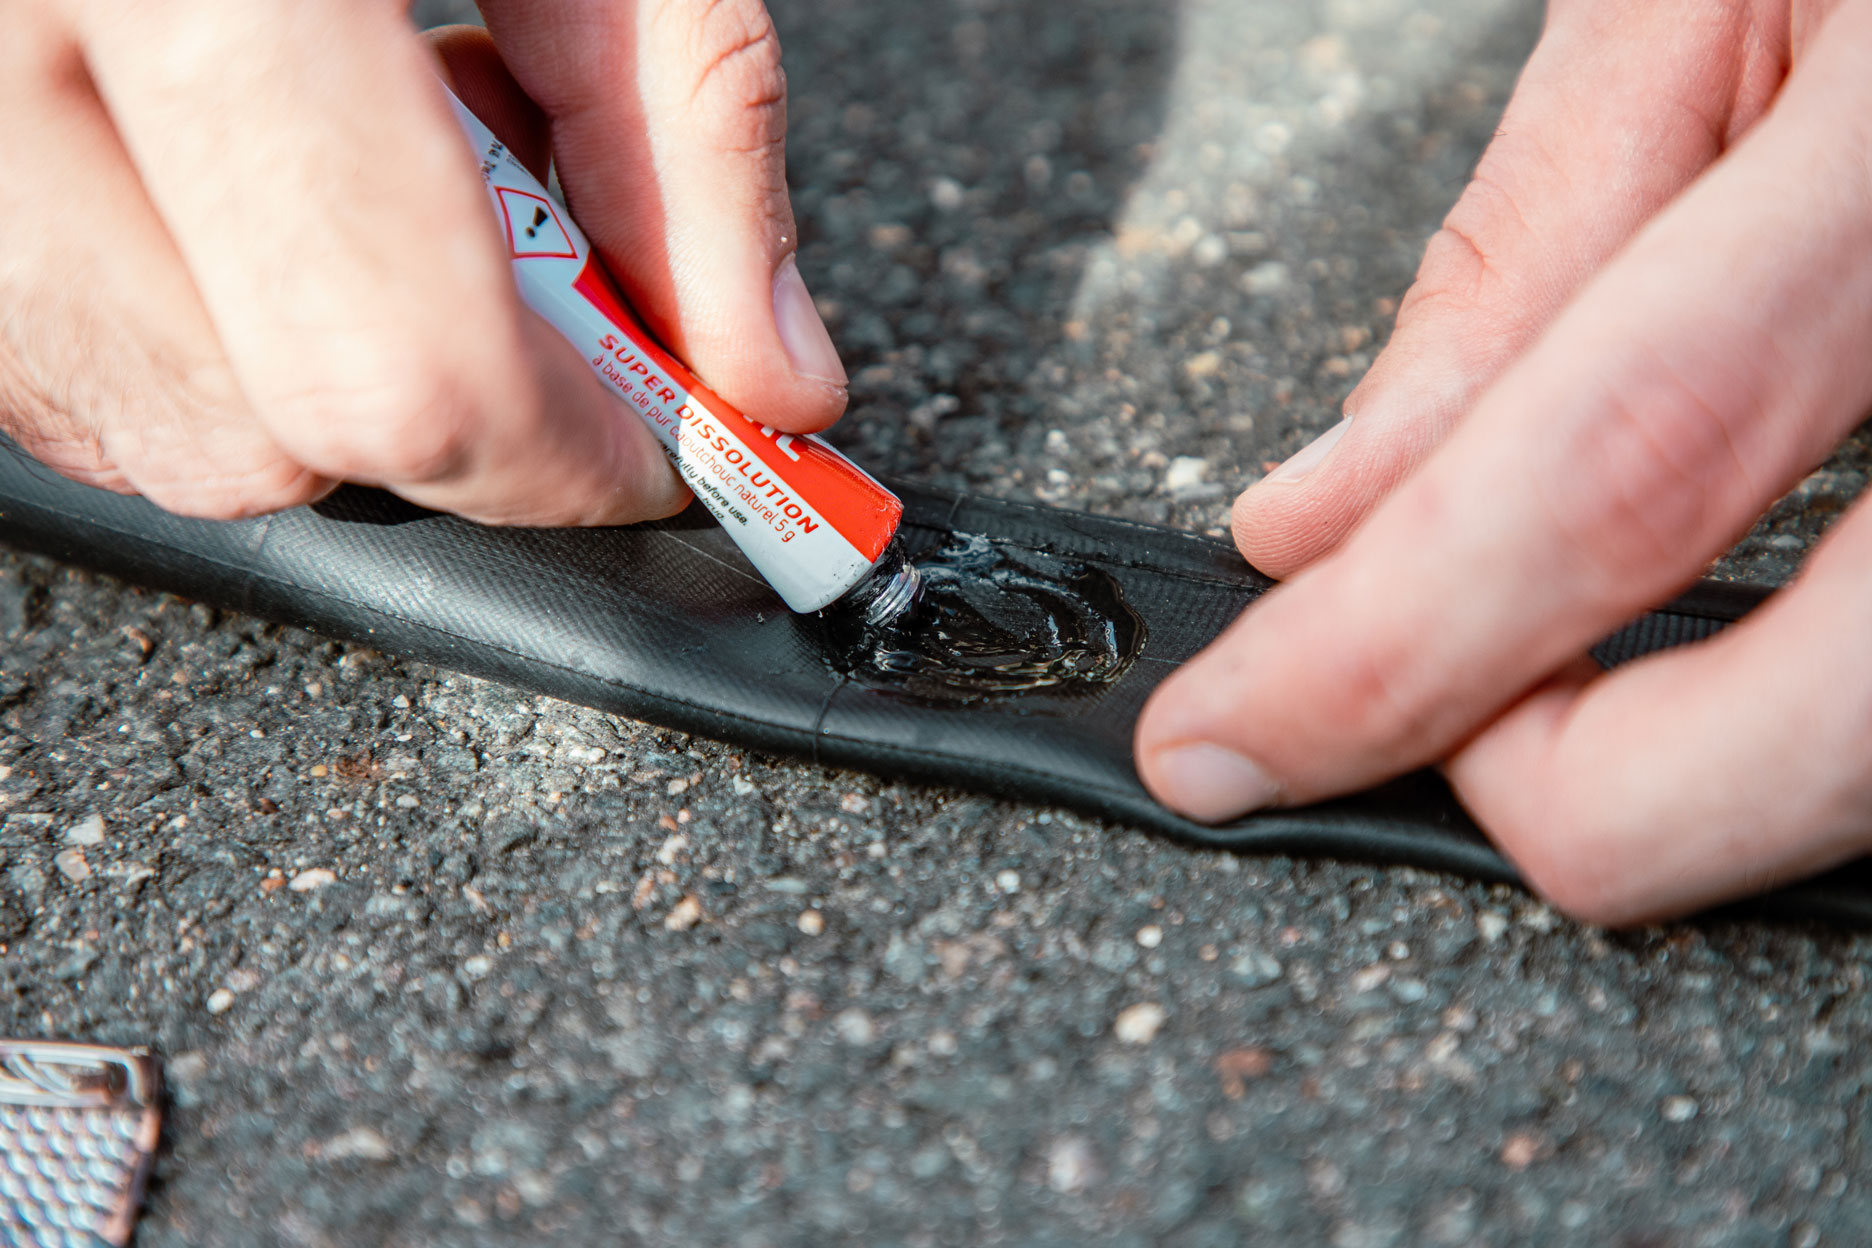
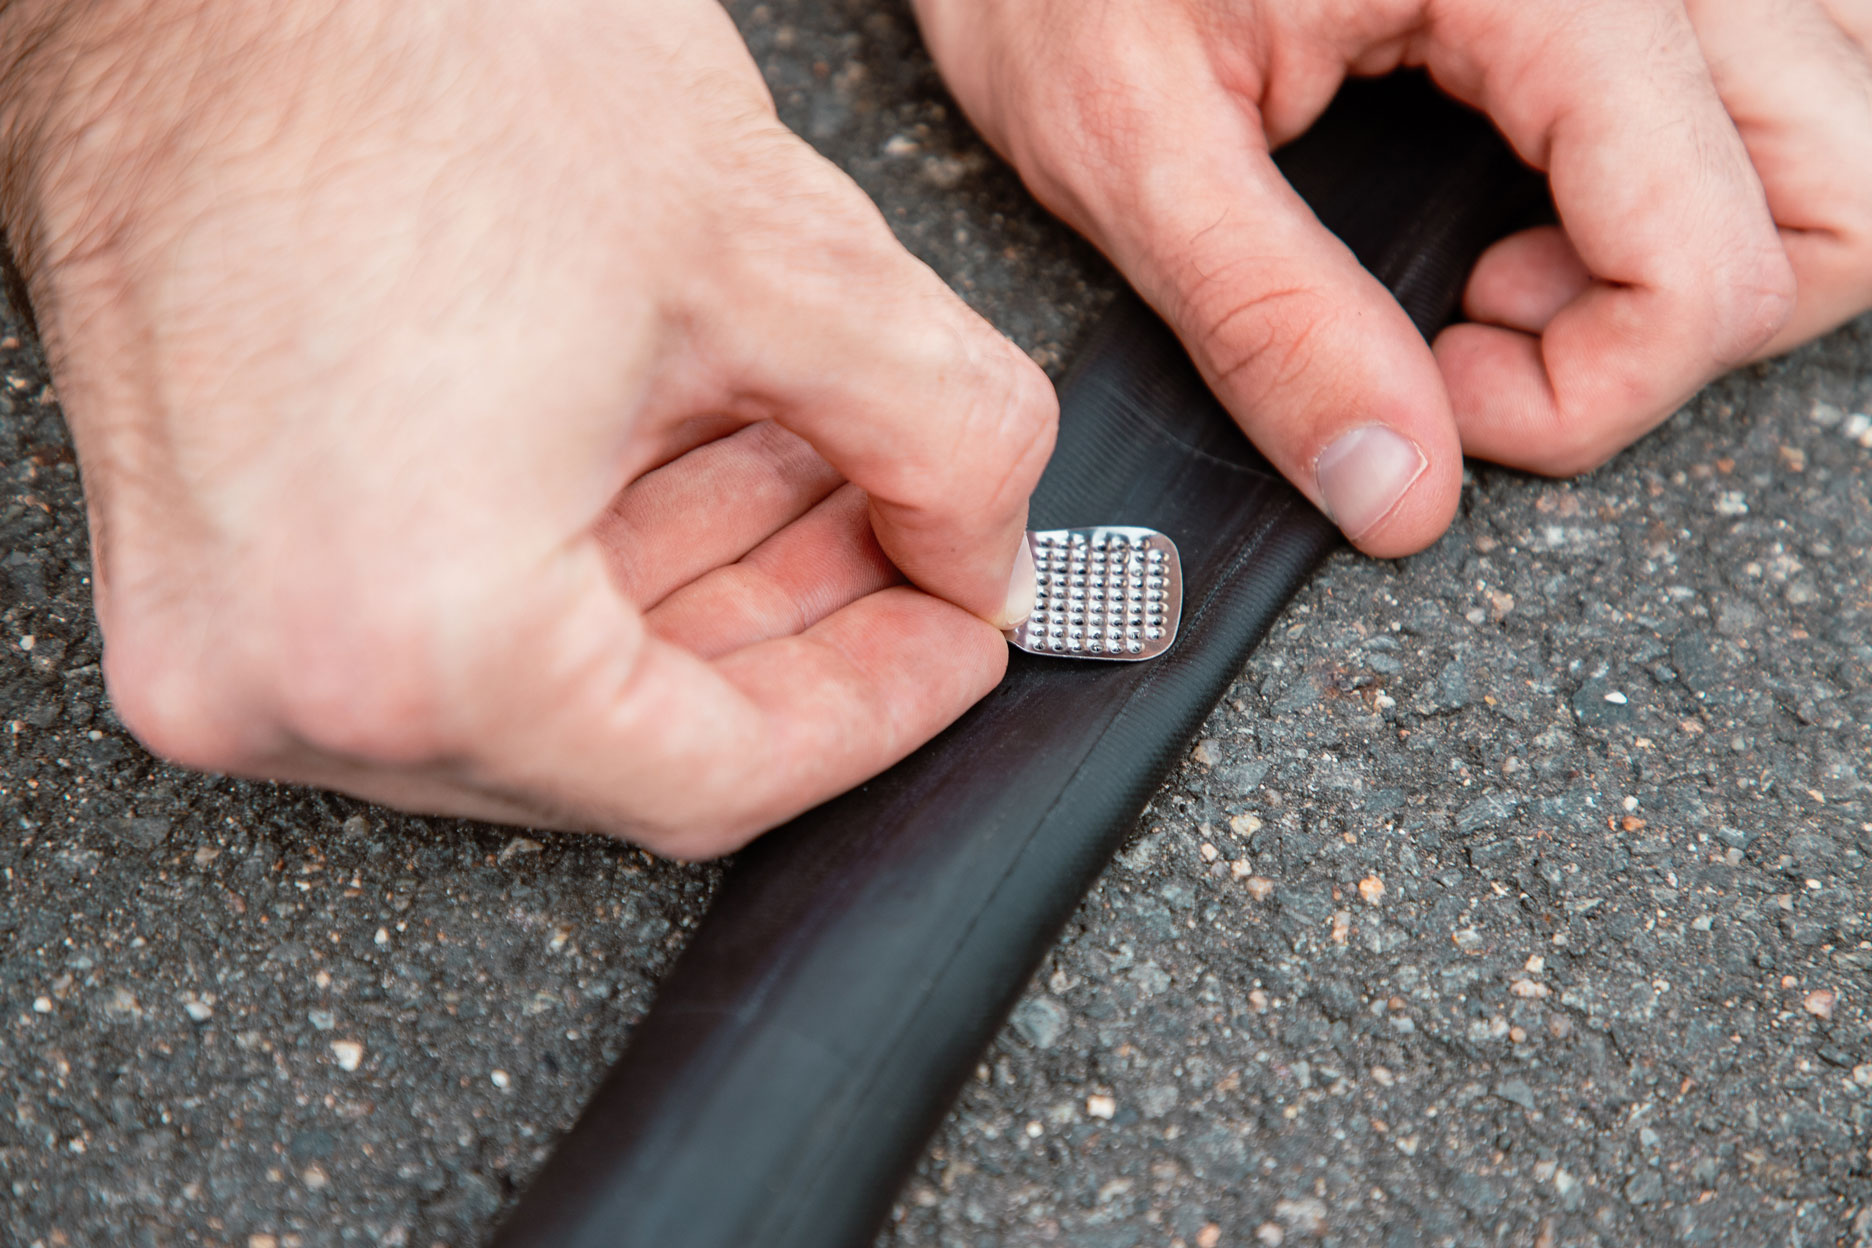
7. Take the scraper included in the Repair Kit and scrape the hole.
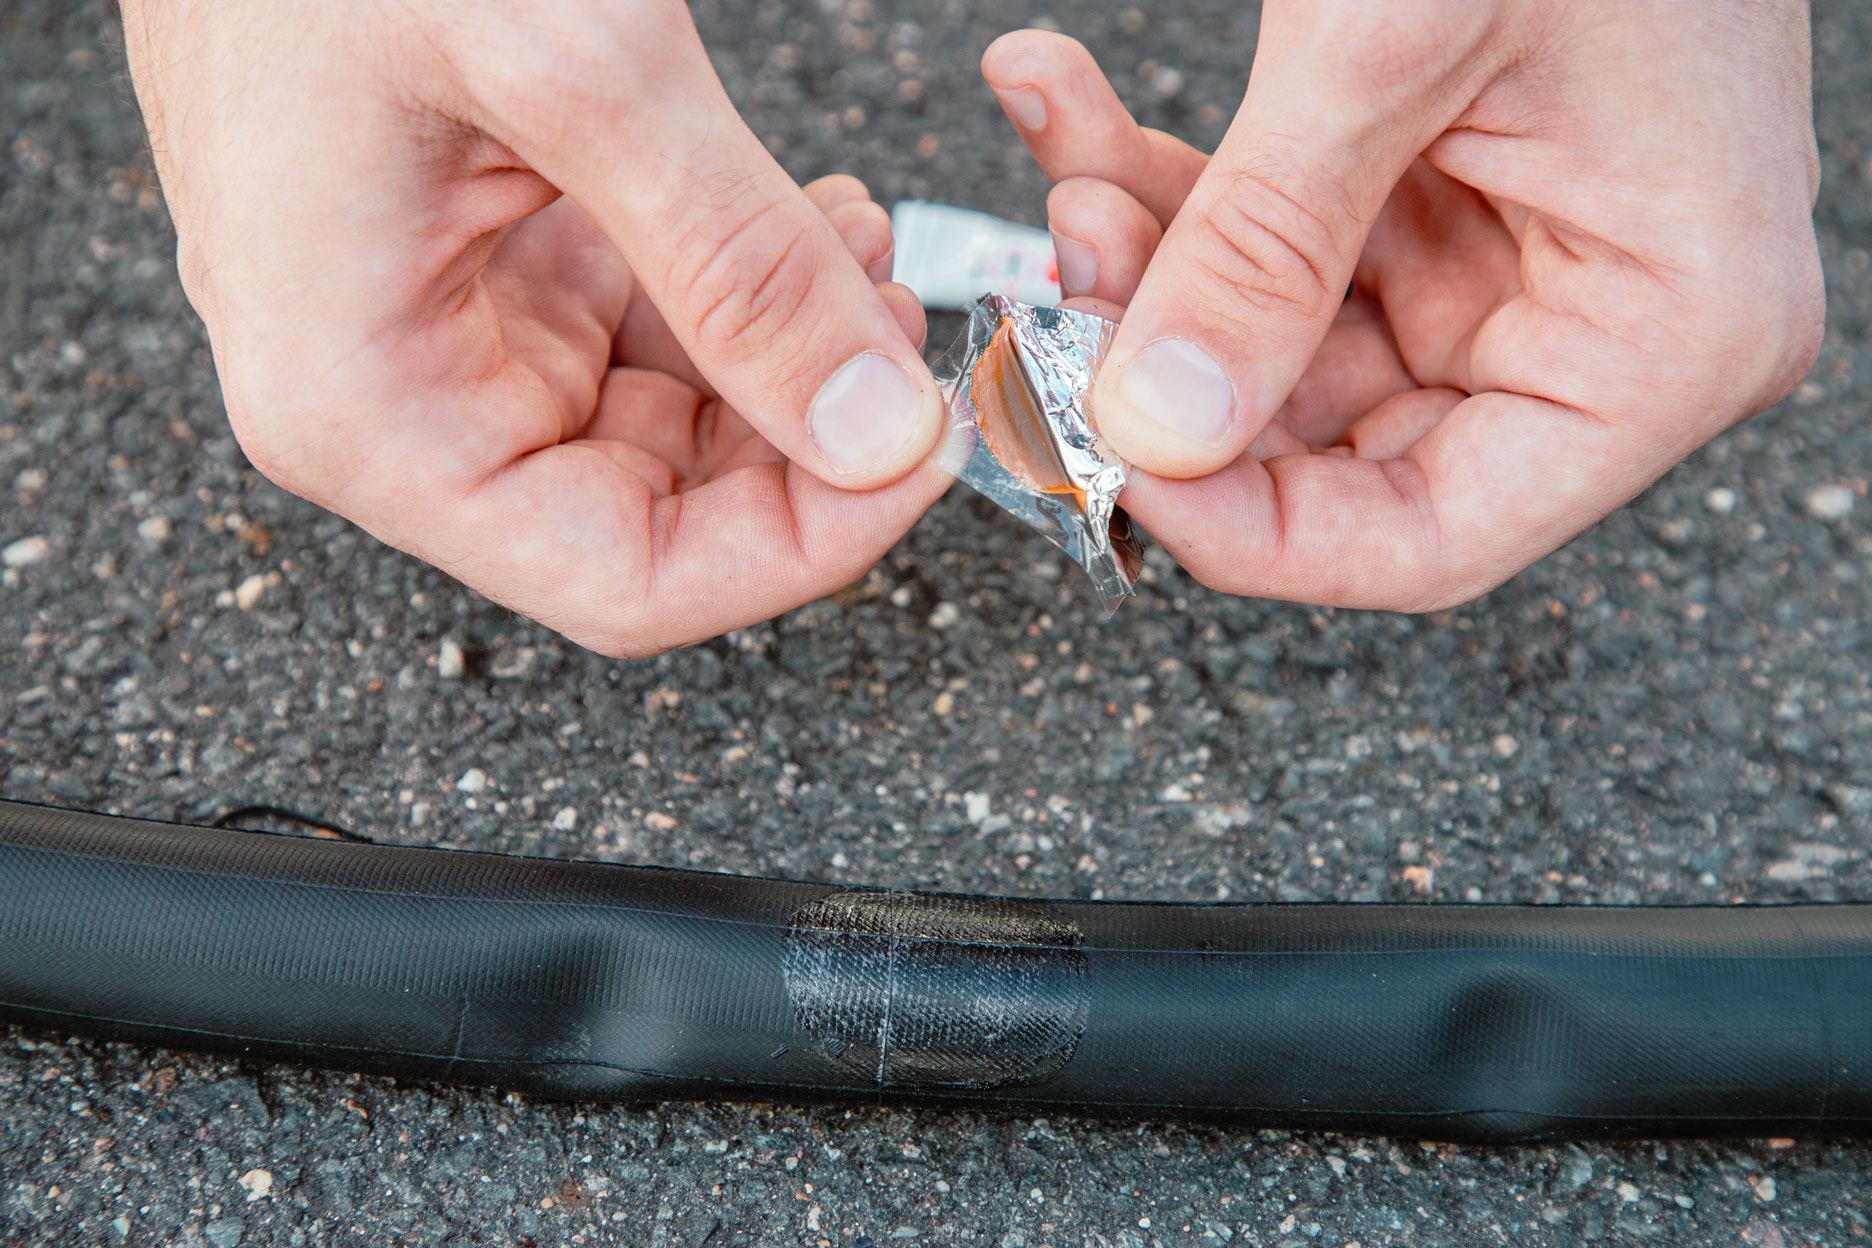
8. Apply some glue to the hole.
9. Wait 2 to 3 minutes for the glue to become matt, then apply an appropriately sized patch
10. Keep pressure on the patch for a few minutes, so that it sticks with the glue and seals the hole.
11. Remove the plastic around the patch and you're done!
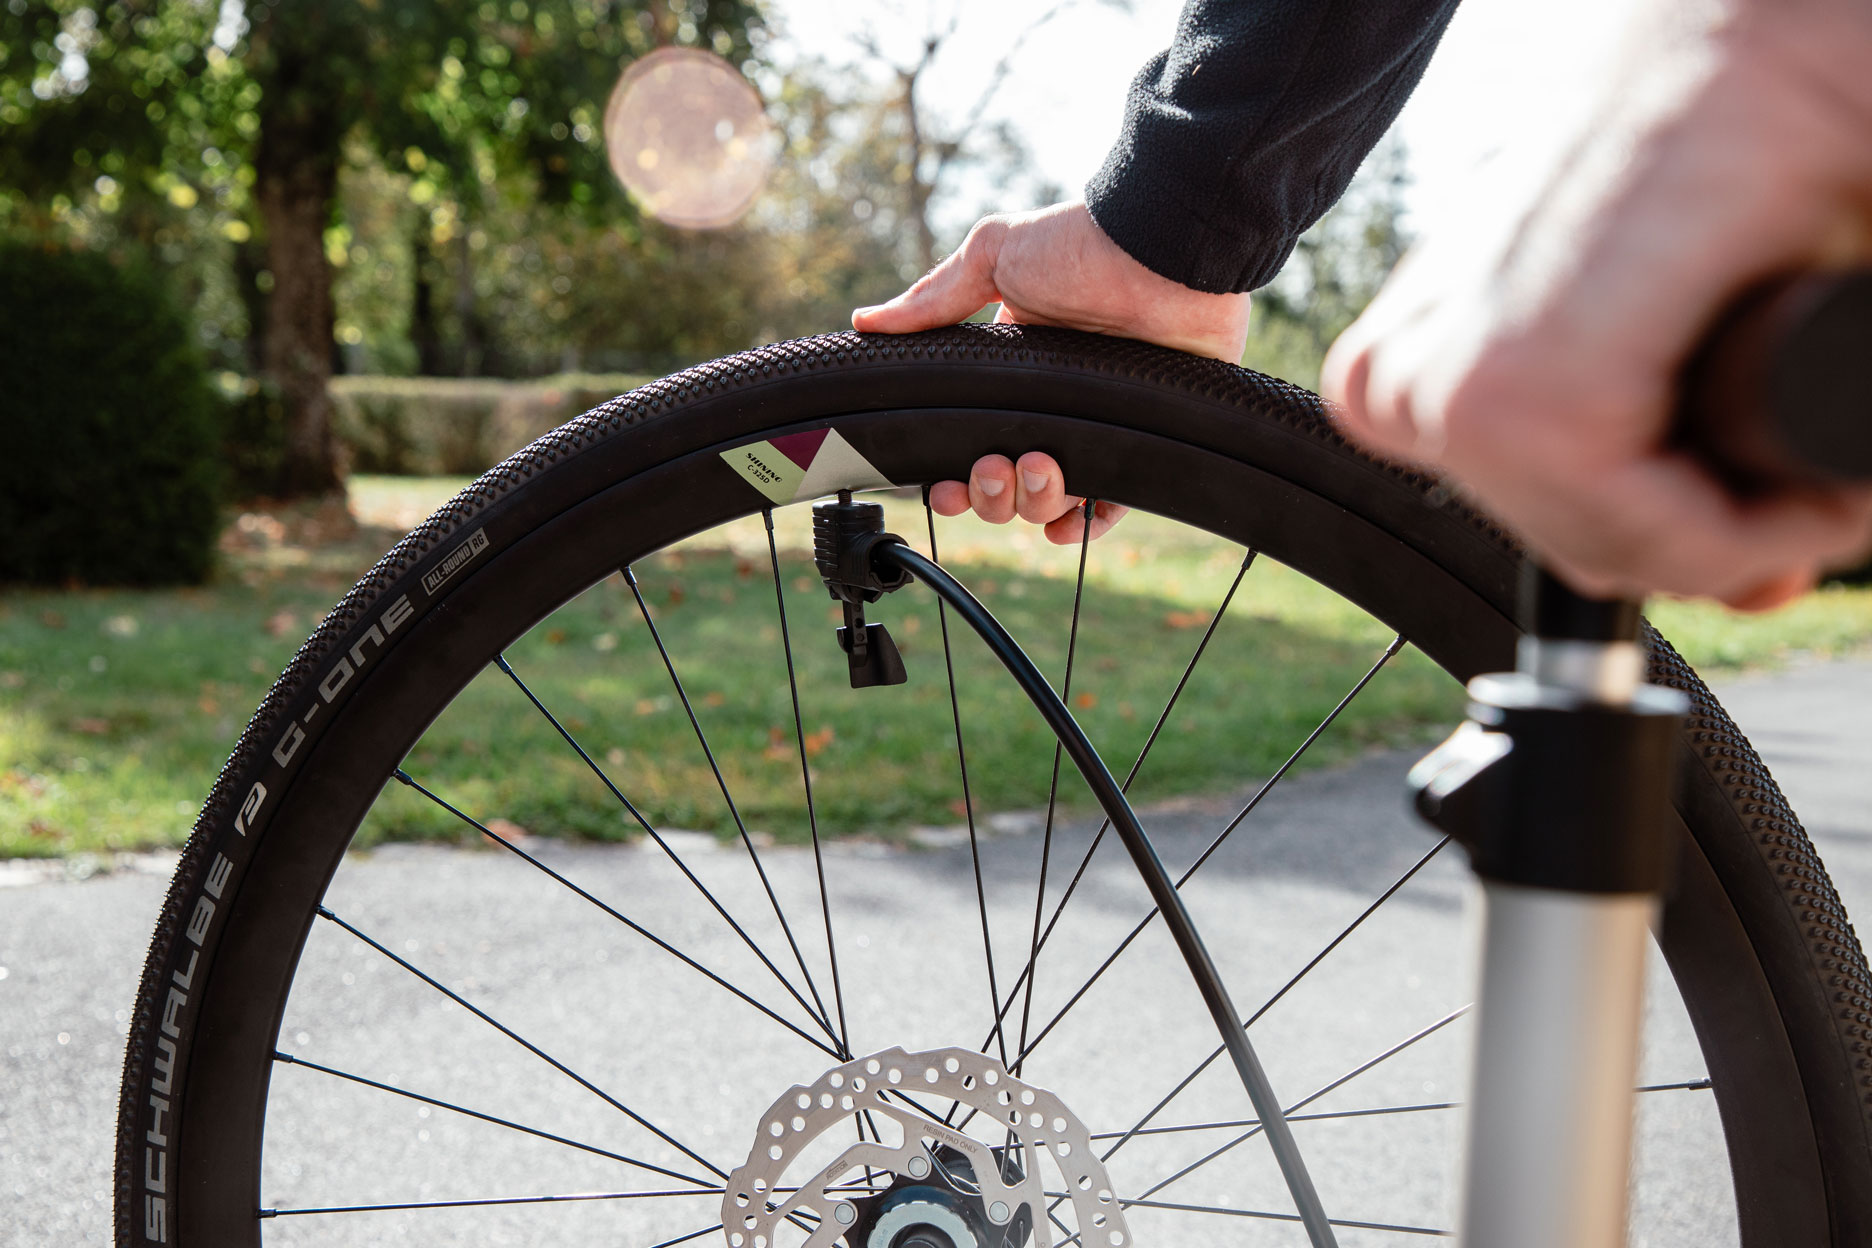
A word of advice: test inflate the tube before reinserting it into the tire to make sure the hole is completely plugged. You don't want to have to disassemble the whole thing after you've realized that the patch is badly stuck!
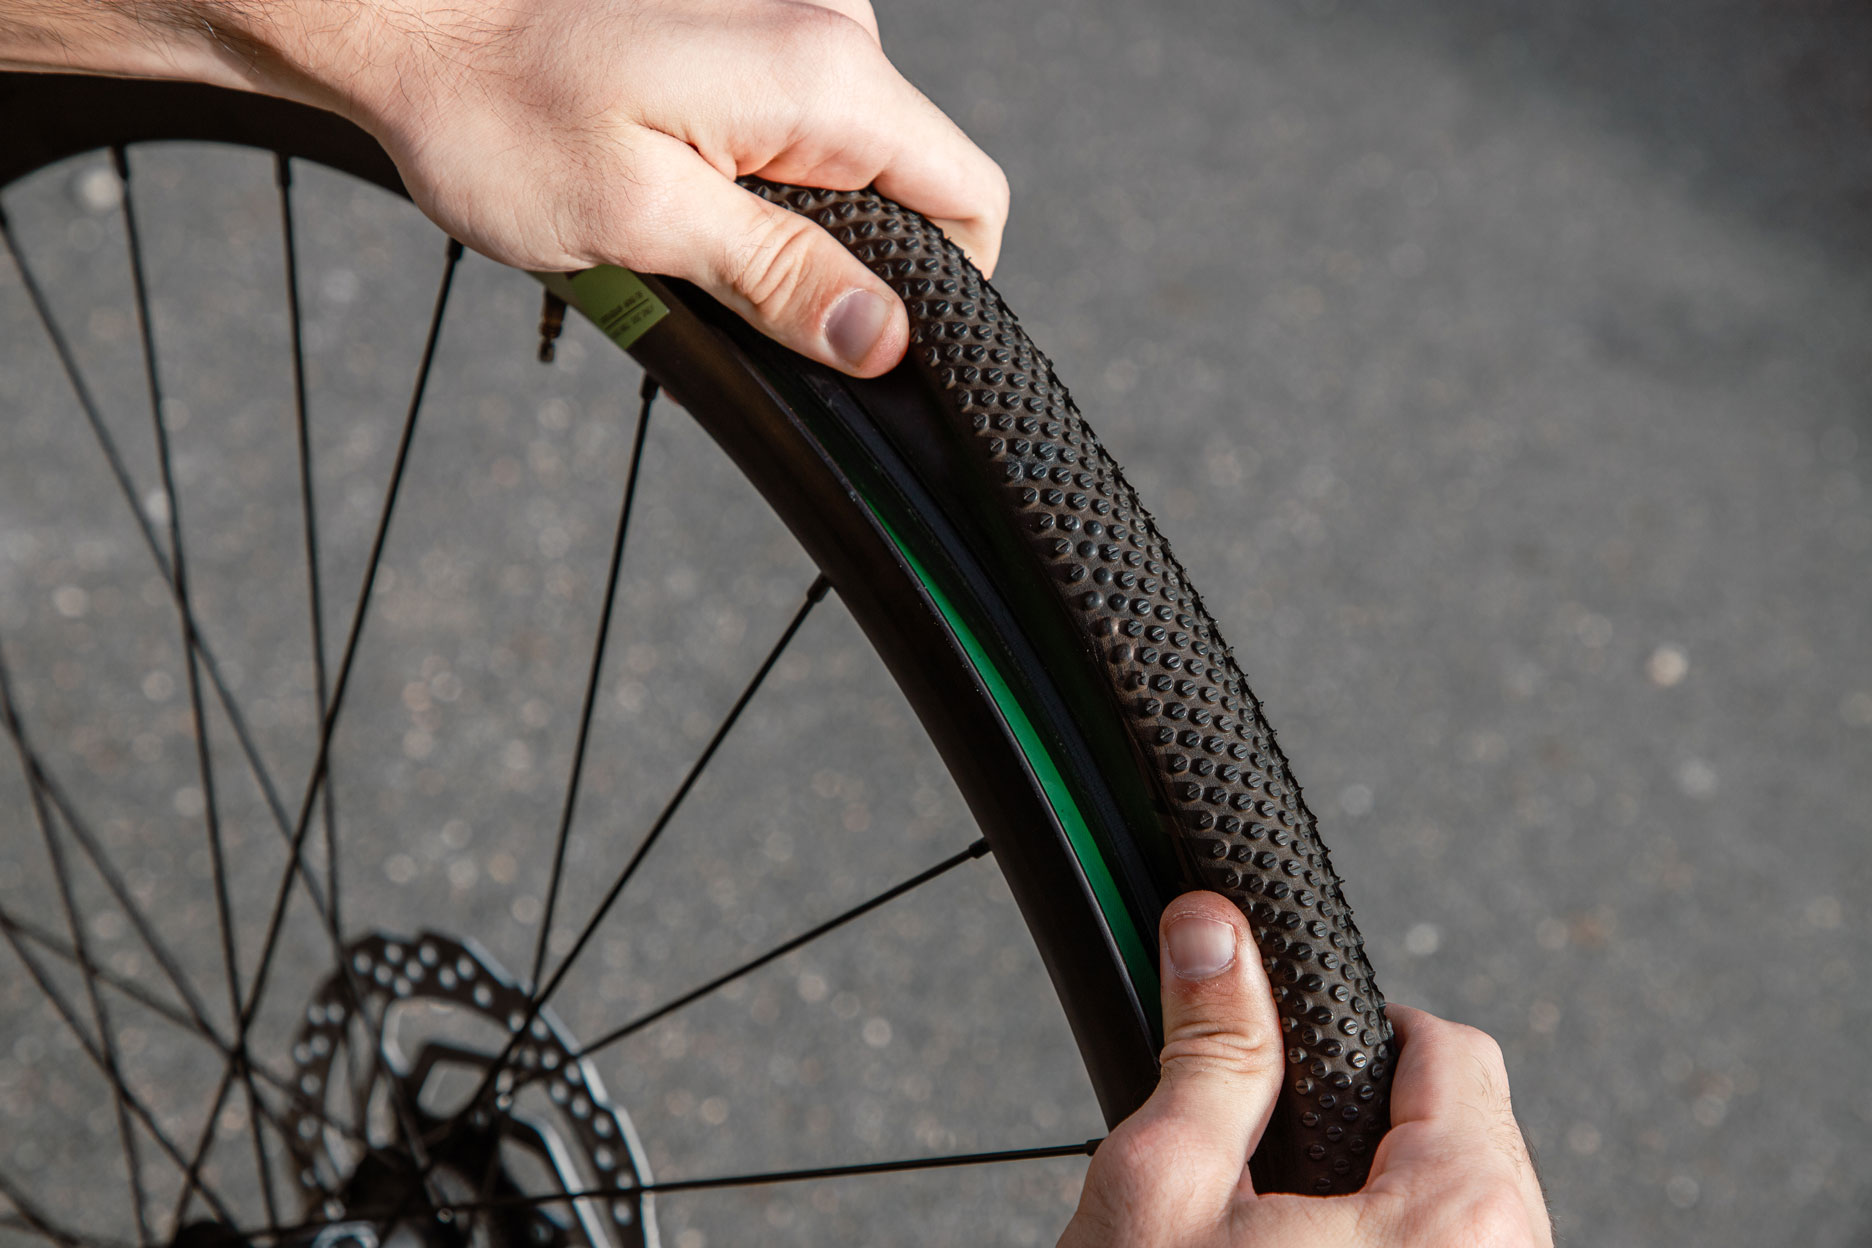
Reinsert the inner tube into the tire. Don't hesitate to inflate it a little so as not to pinch it against the tire when fitting it in, and off you go! Need equipment to re-inflate your tire? Check out our bike pumps and mini-pumps!